Jim, a friend reading my blog, suggest I try out ImageJ for image processing. I had never heard of this program before and needed a few days before I could find the time to check it out. And boy am I glad I did.
ImageJ is a Java app that was developed by the National Institute of Health (the project developer was Wayne Rasband) to perform image processing. You can download the application from its location on the
NIH Website.
After installing it n my laptop at NNU, I just click the ij executable file to get ImageJ's simple to use menu to pop up.
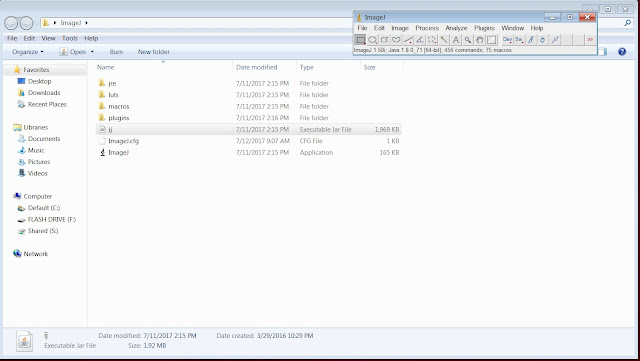 |
| That's right, the ImageJ window is pretty small. Just a simple menu, really. |
It just took six total clicks to split a color image into its three channels. First, I had to open the image with File, Open, and then click on the image I wanted. After opening the image, I then used 3 more clicks to split the color image into its three RGB channels. I clicked on Image, Color, and Split Channels. The original color disappeared and was replaced with three images, one for each color.
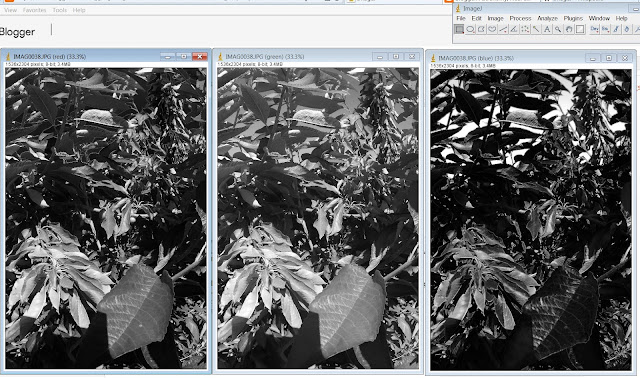 |
| I like that ImageJ automatically gives each image window a name that includes its color layer. |
Next I tested the subtraction of images. Subtracting images can be important for isolating cherries in an image of a cherry tree, because green leaves are bright in both red and green but cherries are only bright in red. Subtracting images requires the use of the Paste Control application. You'll find it under the Edit option.
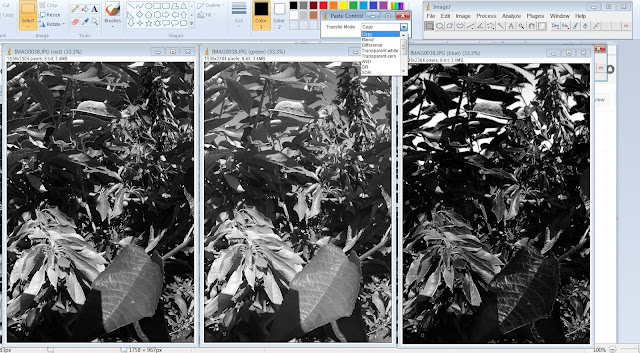 |
| The Paste Control Application showing some of its paste options in a pull down menu. |
One color layer is subtracted from a second one first making sure that the
Subtract option in Paste Control is selected. Then click on the color layer to be subtracted and then clicking Edit and Copy in ImageJ. Then click the second color layer, the one you want to subtract the first layer from, and then click Edit and Paste. Note that the order of the subtraction is important. Subtracting the red layer from the green layer does not produce the same result as subtracting the green layer from the red layer.
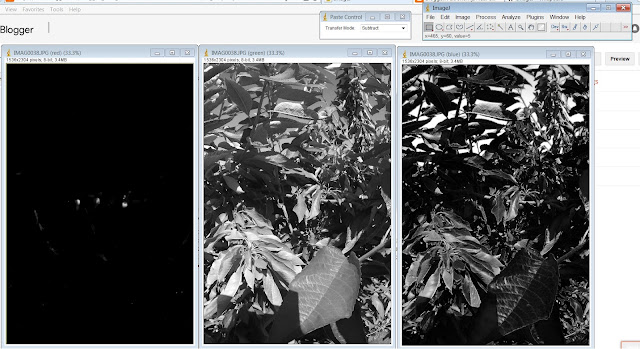 |
| The red color was on the left, but it's been converted in the red layer minus the green layer with just a few clicks. |
An image can be segmented with ImageJ by first finding a global threshold. Setting a threshold is an interactive process, in that you can shift two sliders to set the high and low limits, if you desire. You can also let ImageJ set the boundaries. So click Image, Adjust, Threshold. The Threshold application opens up and the clicked layer suddenly appears as a segmented image with the default threshold values.
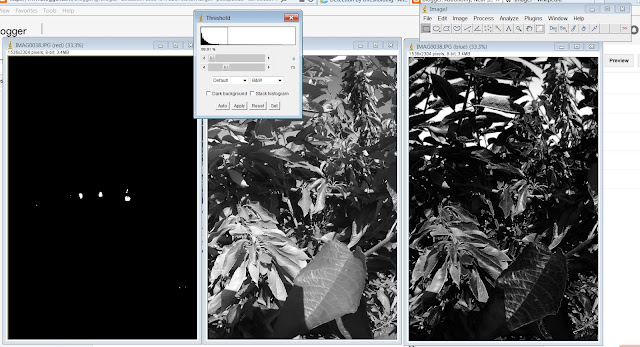 |
| The Threshold application pops up in its default setting. Notice the modified red layer is displayed in the current threshold value. |
You can now adjust the sliders in the Threshold application to set what range of pixel values to threshold with. It's interactive, so as you adjust the left and right limits, the image displays what it will look like under that threshold setting.
After applying a threshold and segmenting a layer, you can detect the edges of the image by clicking Process and then Find Edges.
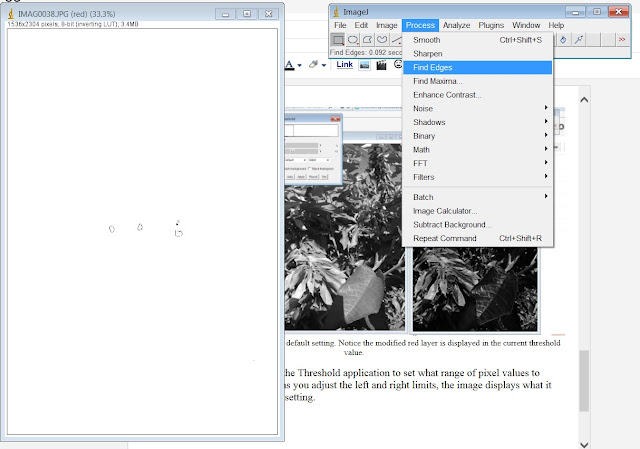 |
| These are the edges of the segmented layer displayed above. |
Images, or layers, can be merged together to create a new color image. This is accomplished by clicking Image, Color, Merge Channels... Under the Merge Channels application, select which image to make which color and then click Okay.
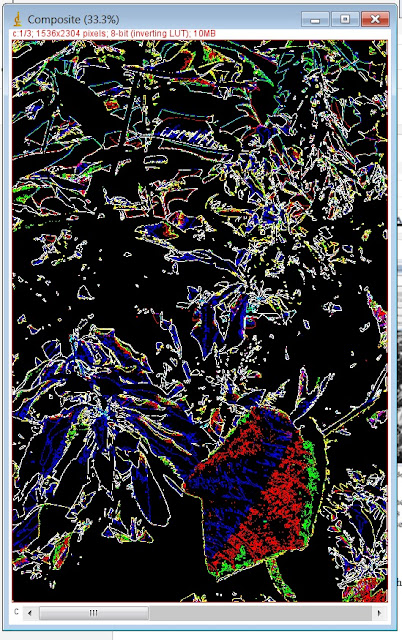 |
| A three color image of the edges detected in the original color image. I don't know if this is particularly useful, but it is pretty cool looking. |
Counting the number of objects in an image is more important than creating pretty images of edges. So that's what I'm working on next. More about that soon (I hope).


No comments:
Post a Comment